Every screen in your experience has settings that can be edited. We recommend a bit of "try it and see", but start here for the basics.
The settings for every screen can be accessed via our tool-bar on the right hand-side panel
If you're unsure what each setting does, hover over it in Guroo.Pro to see the setting name.
Most of the screen settings are described below, but some settings may not be available on all screens, depending on the type (for example, there are no Character settings on a Video screen).
Hotspot screens and Title screens have several unique settings. Follow these links to understand these settings in more details:
General Screen Settings
Screen Completion Rule
-
Required Screen - the learner must view/complete all the elements on this screen in order to complete the experience
-
Optional Screen - the learner does not need to view/complete all the elements on this screen in order to complete the experience.
-
Target Screen - used in multi-path scenarios where completing the target screen completes the bite.
Layout
Most screen types have multiple layouts to choose from. The icons and descriptions in the drop down describe each option.
Background
By default, your screen will use the default background for the theme. Use this option to choose a different background.
Make BG (Background) Banner in Portrait option - this option relates specifically to portrait orientation on a mobile phone. By default, background images are partially cut off when viewing the experience on a mobile phone using portrait orientation.
If your background includes information or images that are important to the learning experience (eg. a photograph or a product, or a process flow), turn this option on, so that the background image appears as a banner at the top of the screen when viewed on a mobile phone.
Panel Style
The panel is the layer over the background that your content will display on. Choose from the different styles.
Image
Include an image to the right or left of your screen. If you have chosen a layout that is 'Framed Left', then you will only be able to display your image on the right and vice versa.
Character
Include a character on your screen. Set a Primary character as the default character for your experience, however if you want to use a different character, choose Specific.
Custom Learner Name (under Character)
By default, in any experience where the learner's name is known (for example, an experience hosted on a SCORM or xAPI compliant LMS) the conversation question responses will use the learner's name. If the name is not known, the experience will default to 'You'. Alternatively, you can add a custom name using this setting.
Sub-screen Settings
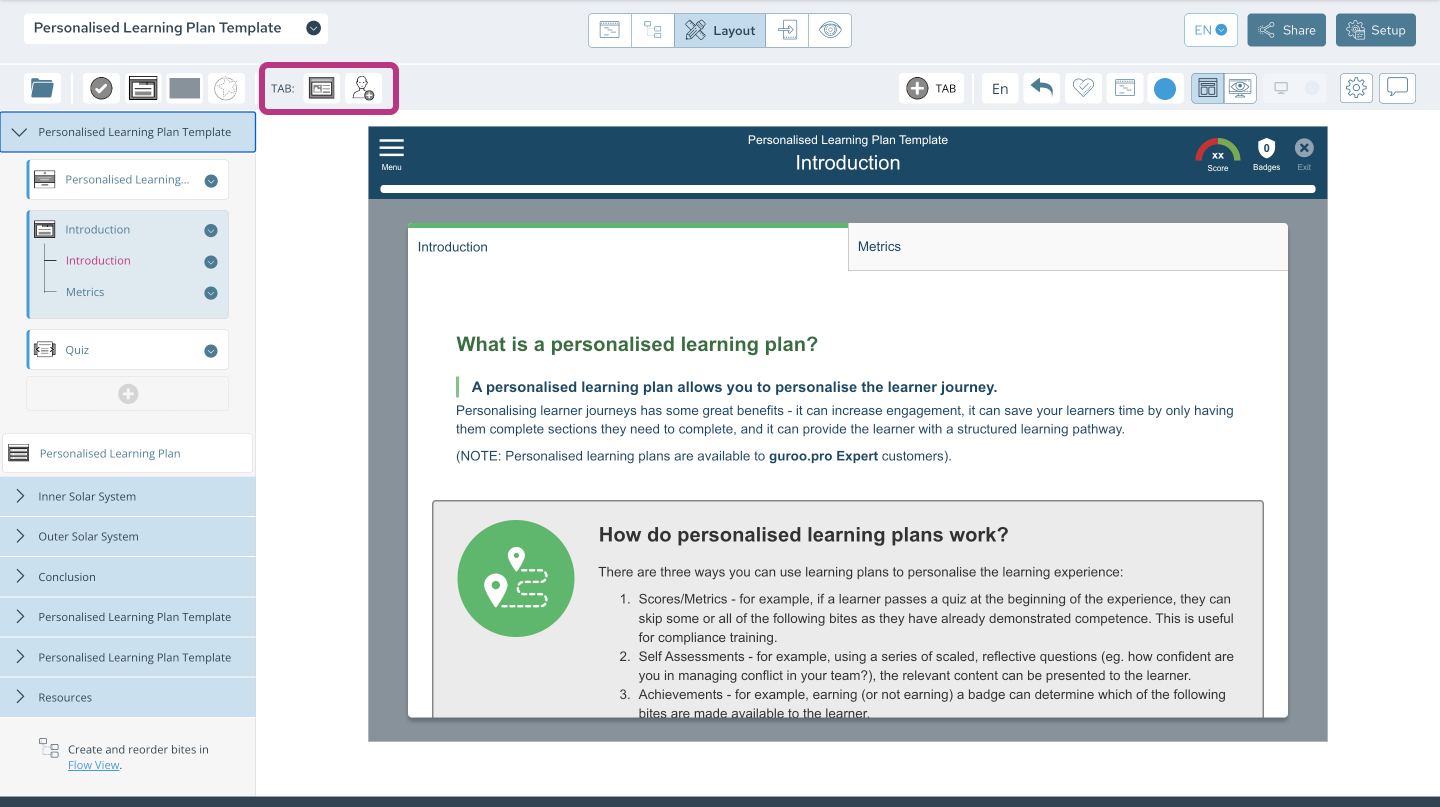
Any screen type which is broken into sub-screens (tabs, sliders, accordions, hotspots) has settings for both the main 'Parent' screen, and each sub-screen. Keep an eye out for the sub-screen settings highlighted in the example below.

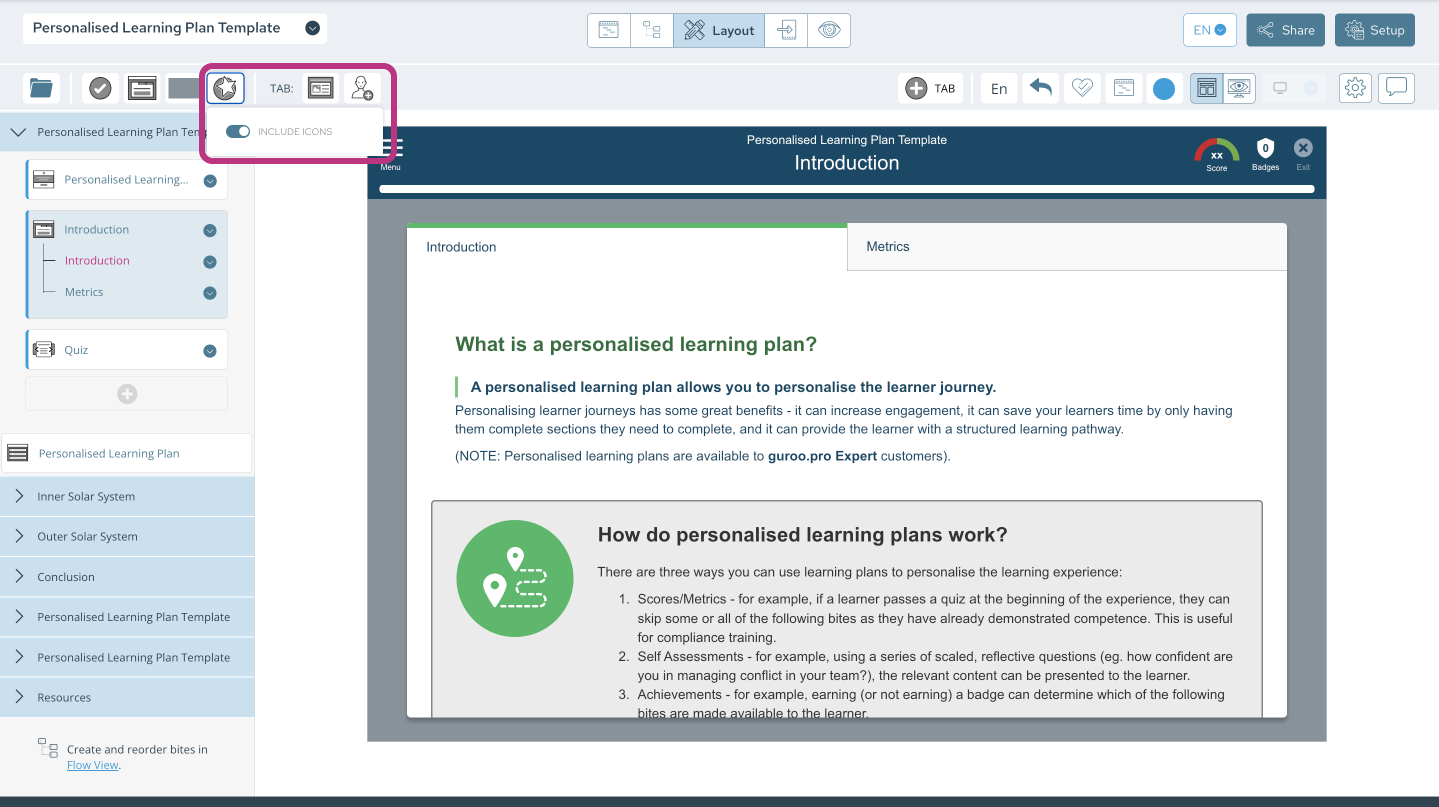
Include Icons
Use this setting to include icons on your tabs.


